
Real Estate Photography
The Best Time of Day to Photograph Real Estate Listings: A Complete Guide
Discover how sun position, home orientation, and time of day dramatically impact your listing photos. Learn when to shoot for maximum impact and what times to avoid.
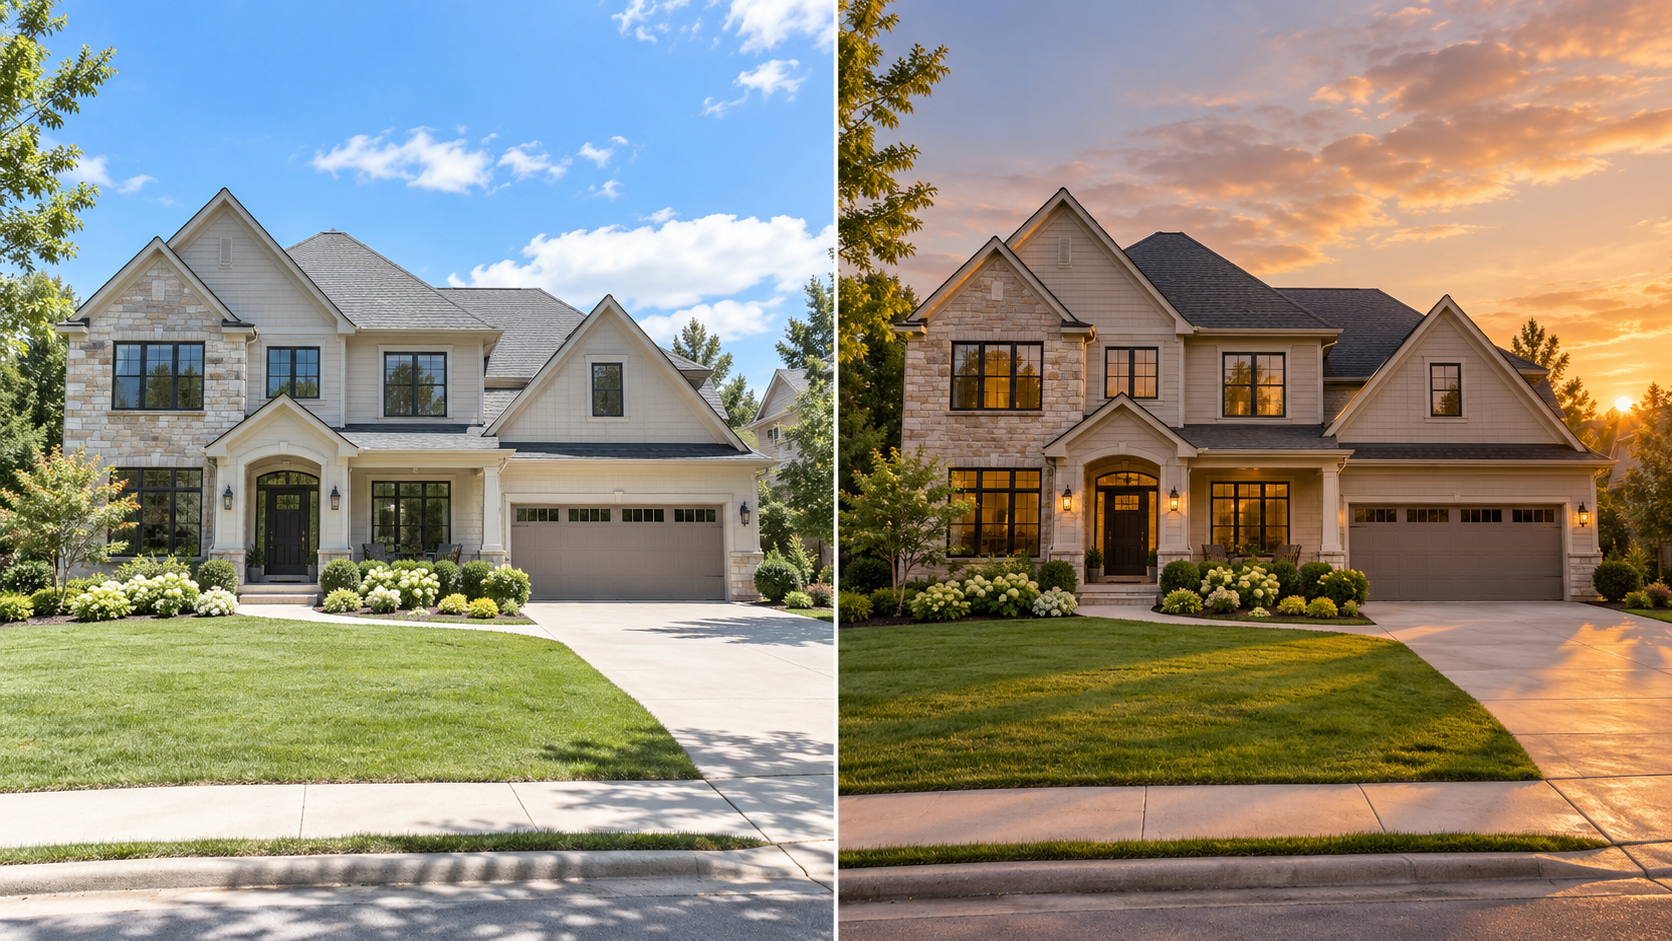
Light is everything in real estate photography. The difference between a mediocre listing photo and one that stops a buyer mid-scroll often comes down to one thing: when you pressed the shutter button.
Why Timing Makes All the Difference
Shoot at the wrong time, and you'll fight harsh shadows, washed-out colors, and an unforgiving glare that no amount of editing can fix. Shoot at the right time, and your photos practically sell themselves.
For agents and homeowners looking to maximize the impact of listing photos, timing is the easiest win you haven't yet claimed. Here's exactly how to get it right.
The Golden Hour: The Sweet Spot for Exterior Photography
The best time to photograph any home is during the golden hour—the period just after sunrise (roughly 5–6 AM) or just before sunset (roughly 6–7 PM). This isn't a suggestion; it's a standard across professional real estate photographers for good reason.
During golden hour:
- Shadows are longer and more flattering—they accentuate architectural details without harsh lines
- Colors are naturally vibrant—the warm, diffused light brings out true tones without oversaturation
- Glare is minimized—you won't fight reflection off windows or metal surfaces
The tradeoff? You'll need to coordinate schedules carefully. Morning shoots require an early start; evening shoots happen as daylight fades. But if you're serious about listing impact, the time investment is worth it.
Understanding Home Orientation: Match the Time to the Direction
Here's a detail many people miss: the optimal time to shoot depends on which direction your home faces.
- East-facing properties: Schedule your shoot for morning. The sun rising on the front creates golden hour glow and avoids harsh afternoon light
- North-facing properties: 10 AM to 2 PM works best. North-facing homes don't get dramatic sun angles, so mid-morning provides even, consistent lighting
- South-facing properties: Early morning or evening. This direction gets intense midday sun, so shoot during golden hour to avoid harsh shadows
- West-facing properties: Afternoon or evening. The setting sun creates natural rim light that separates the house from the landscape
Twilight Photography: Showcase Nighttime Features
Here's a professional secret: twilight shoots (approximately 30 minutes after sunset) can become a signature part of your listing.
Why? Because after sunset, if the home has exterior lighting—porch lights, landscape lighting, pool lights, deck lighting—those features actually shine. Twilight photos emphasize curb appeal and outdoor entertainment spaces in a way daylight simply can't match.
Many high-end listings include one twilight photo specifically to showcase these features.
Seasonal Timing Considerations
Season matters as much as time of day.
Best seasons: Spring (early) and fall (late) offer mild temperatures, favorable foliage, and predictable weather patterns.
Avoid mid-summer: Late June through August present challenges—the sun sits high even at 6 PM, creating harsh shadows, intense heat makes shoots uncomfortable, weather can turn unpredictably, and midday glare peaks.
If summer is your only option, stick to early morning (5–6 AM) or wait for overcast conditions.
Overcast Days: Don't Discount Cloudy Skies
One of the biggest misconceptions: "We need perfect sunny weather for photos."
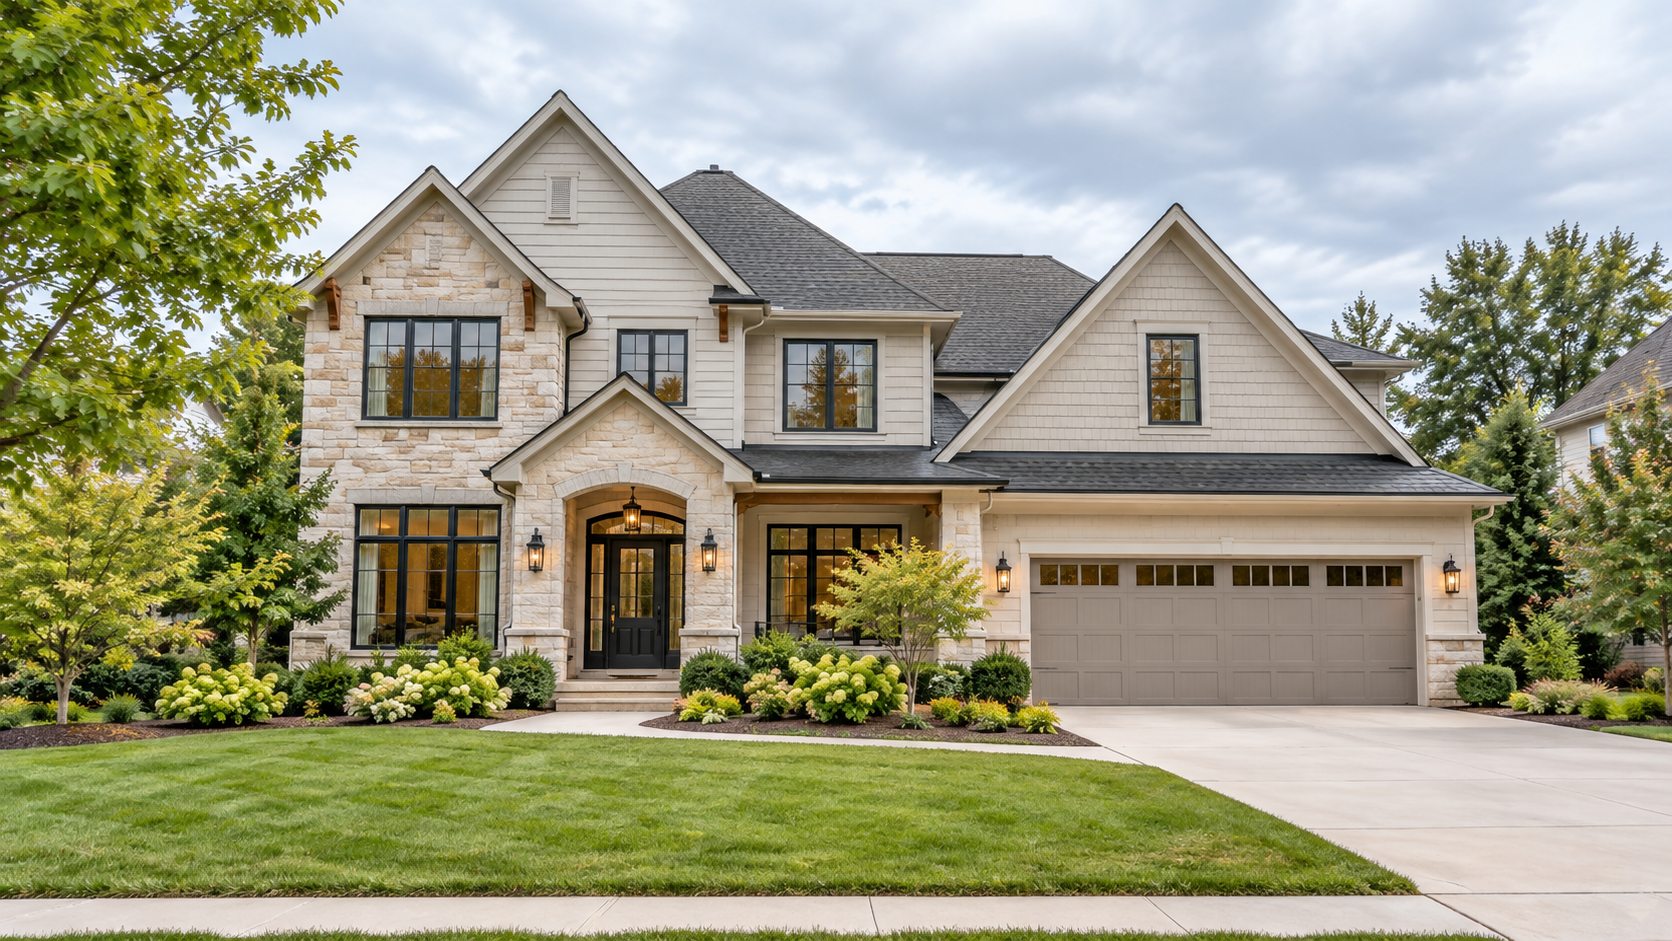
Actually, overcast days can be ideal—especially for exterior shots. Cloud cover acts as a natural diffuser, eliminating harsh shadows and allowing colors to appear rich and vibrant. You get even, consistent lighting without the time constraint of golden hour.
Overcast photography is particularly effective for homes with complex architecture or homes surrounded by trees, where dappled sun would otherwise create a chaotic look.
Times to Avoid: Why Midday Sun Hurts Your Listing
Avoid shooting between 11 AM and 3 PM on sunny days, especially in summer. Here's why:
- The sun is directly overhead, creating harsh, unflattering shadows
- Windows reflect glare instead of showing the interior
- Contrast is too extreme—the house looks dark relative to the sky
- Grass and landscaping can appear washed out
- The entire image feels flat and uninviting
If your only window is midday, wait for an overcast day or reschedule.
Interior Lighting Matters Too
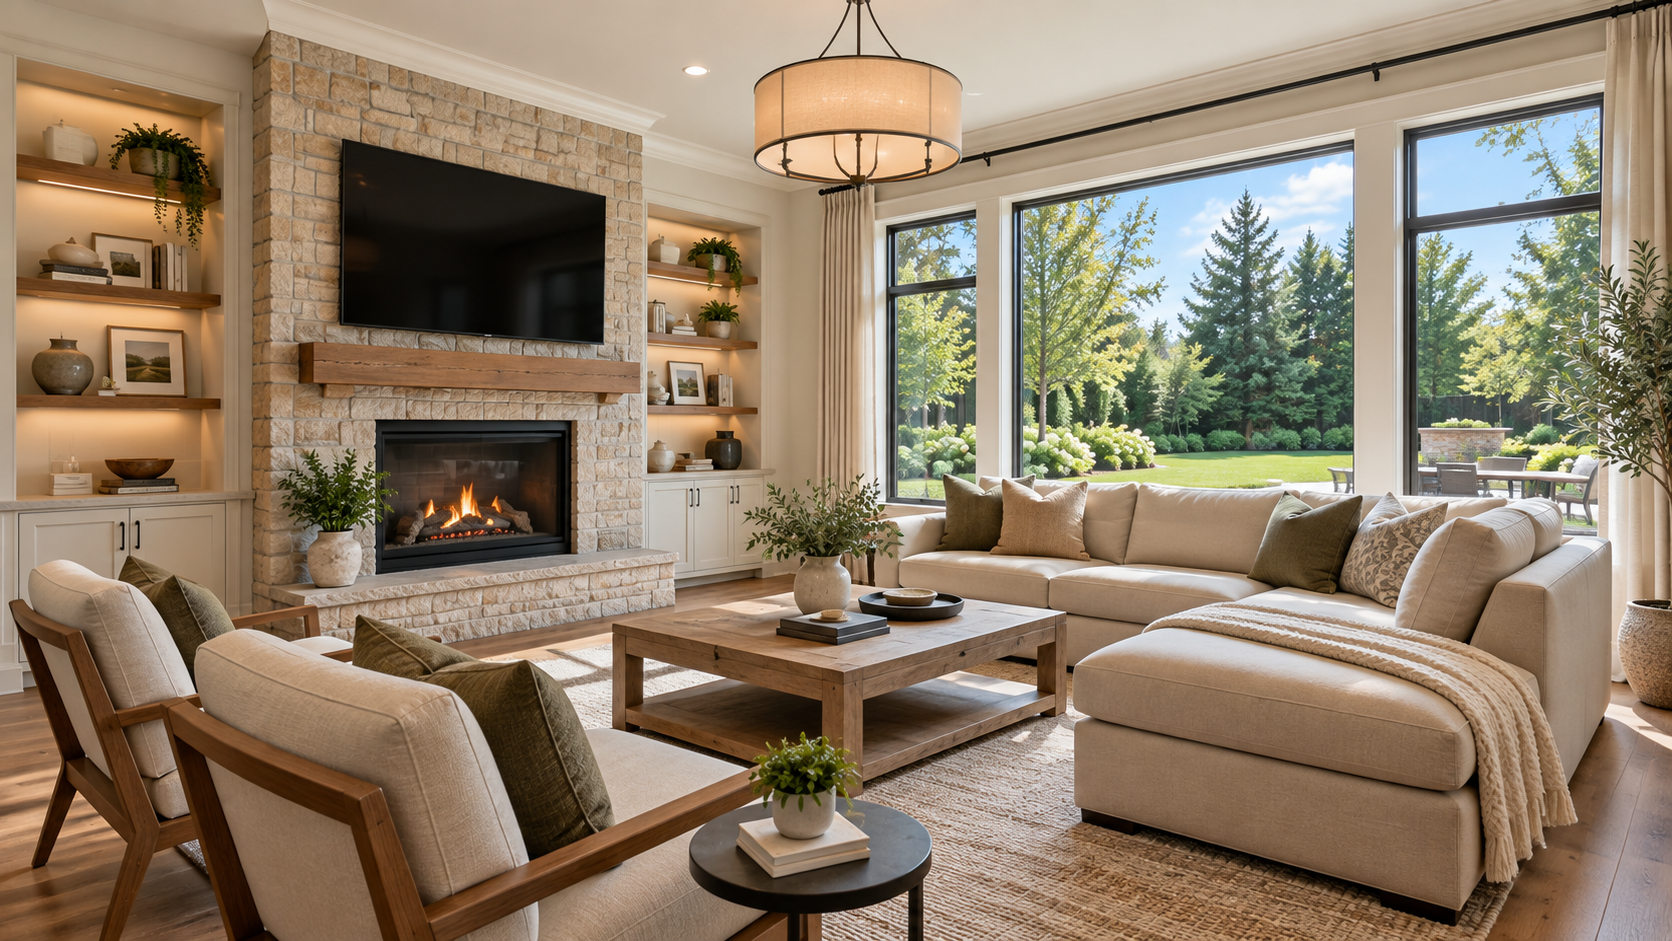
While sun position drives exterior timing, interiors require different strategy. Shoot interiors during golden hour or on overcast days to minimize glare on windows. Professional photographers often use window covers or shoot during low-light times to balance interior and exterior exposure.
For rooms with north-facing windows, midday can work since the light is softer and more even.
The Pre-Shoot Preparation Checklist
Timing is half the battle. Before you shoot, make sure the property is photo-ready:
- Declutter and depersonalize—remove personal photos, excess furniture, toys, and clutter
- Clean everything—windows, siding, landscaping, walkways, driveway
- Stage key rooms—make beds, arrange pillows, clear kitchen counters, tidy bathrooms
- Ensure curb appeal—trim bushes, mow grass, add fresh flowers if appropriate
- Check weather forecasts—even one day before, update your expectation for light quality
The best-timed shoot can't overcome a messy home. Preparation amplifies the impact of good light.
Putting It All Together: Your Real Estate Photography Timeline
Here's how to schedule your shoot:
- Identify home orientation (east, north, south, or west-facing)
- Check the forecast for the best light conditions in the next 1–2 weeks
- Pick your timing based on home direction
- Consider a twilight follow-up if the property has outdoor lighting
- Have an overcast backup in case sunny conditions don't work
- Prepare the property the day before
Getting these details right is the difference between a listing that sits and one that generates showings. And unlike hiring a photographer last-minute or rushing edits, timing costs you nothing—it just requires planning.
Share this article