
Photography Tips
How to Photograph Small Spaces Effectively for Real Estate Listings
Small spaces need special technique. Learn how to make compact homes, apartments, and condos photograph larger, brighter, and more appealing than they actually are.

Why Small Spaces Are Harder to Photograph
Small spaces present a unique challenge in real estate photography. A cramped apartment or modest home can look even smaller in photos if you do not approach it strategically. The reverse is also true. With the right techniques, you can make a 700 square foot condo feel spacious and inviting.
The problem is angle and light. A tight living room photographed from the wrong corner becomes a claustrophobic box. The same room, photographed from the right spot with the right settings, becomes a cozy retreat that actually attracts buyers.
Use a Wide-Angle Lens, But Not Too Wide
The most common mistake is using a lens that is too extreme. Ultra-wide lenses distort walls and make rooms look warped or fisheye. A 16-24mm lens on a full-frame camera is typically the sweet spot for residential interiors.
On a crop sensor, you want to stay in the 10-16mm range. The goal is to show more of the room without introducing the barrel distortion that screams "this is an ultrawide shot."
A 24mm focal length is often the right choice for small apartments. It gives you depth without making the walls curve. It feels natural to the eye.
Shoot from the Corner, Not the Center
Where you stand matters more than you think. In a small space, position yourself in a corner and aim your camera diagonally across the room. This creates depth and makes the space feel larger than it is.
Do not stand in the middle of a small room shooting straight at a wall. You will waste half your frame on blank wall space and compress the room into a shallow box.
By positioning yourself in a corner and angling your camera, you force the eye to travel through the image. The room reads as deeper and more interesting.
Declutter Ruthlessly
Small spaces expose every flaw. A single item of clutter is ten times more obvious in a compact apartment than it is in a spacious home.
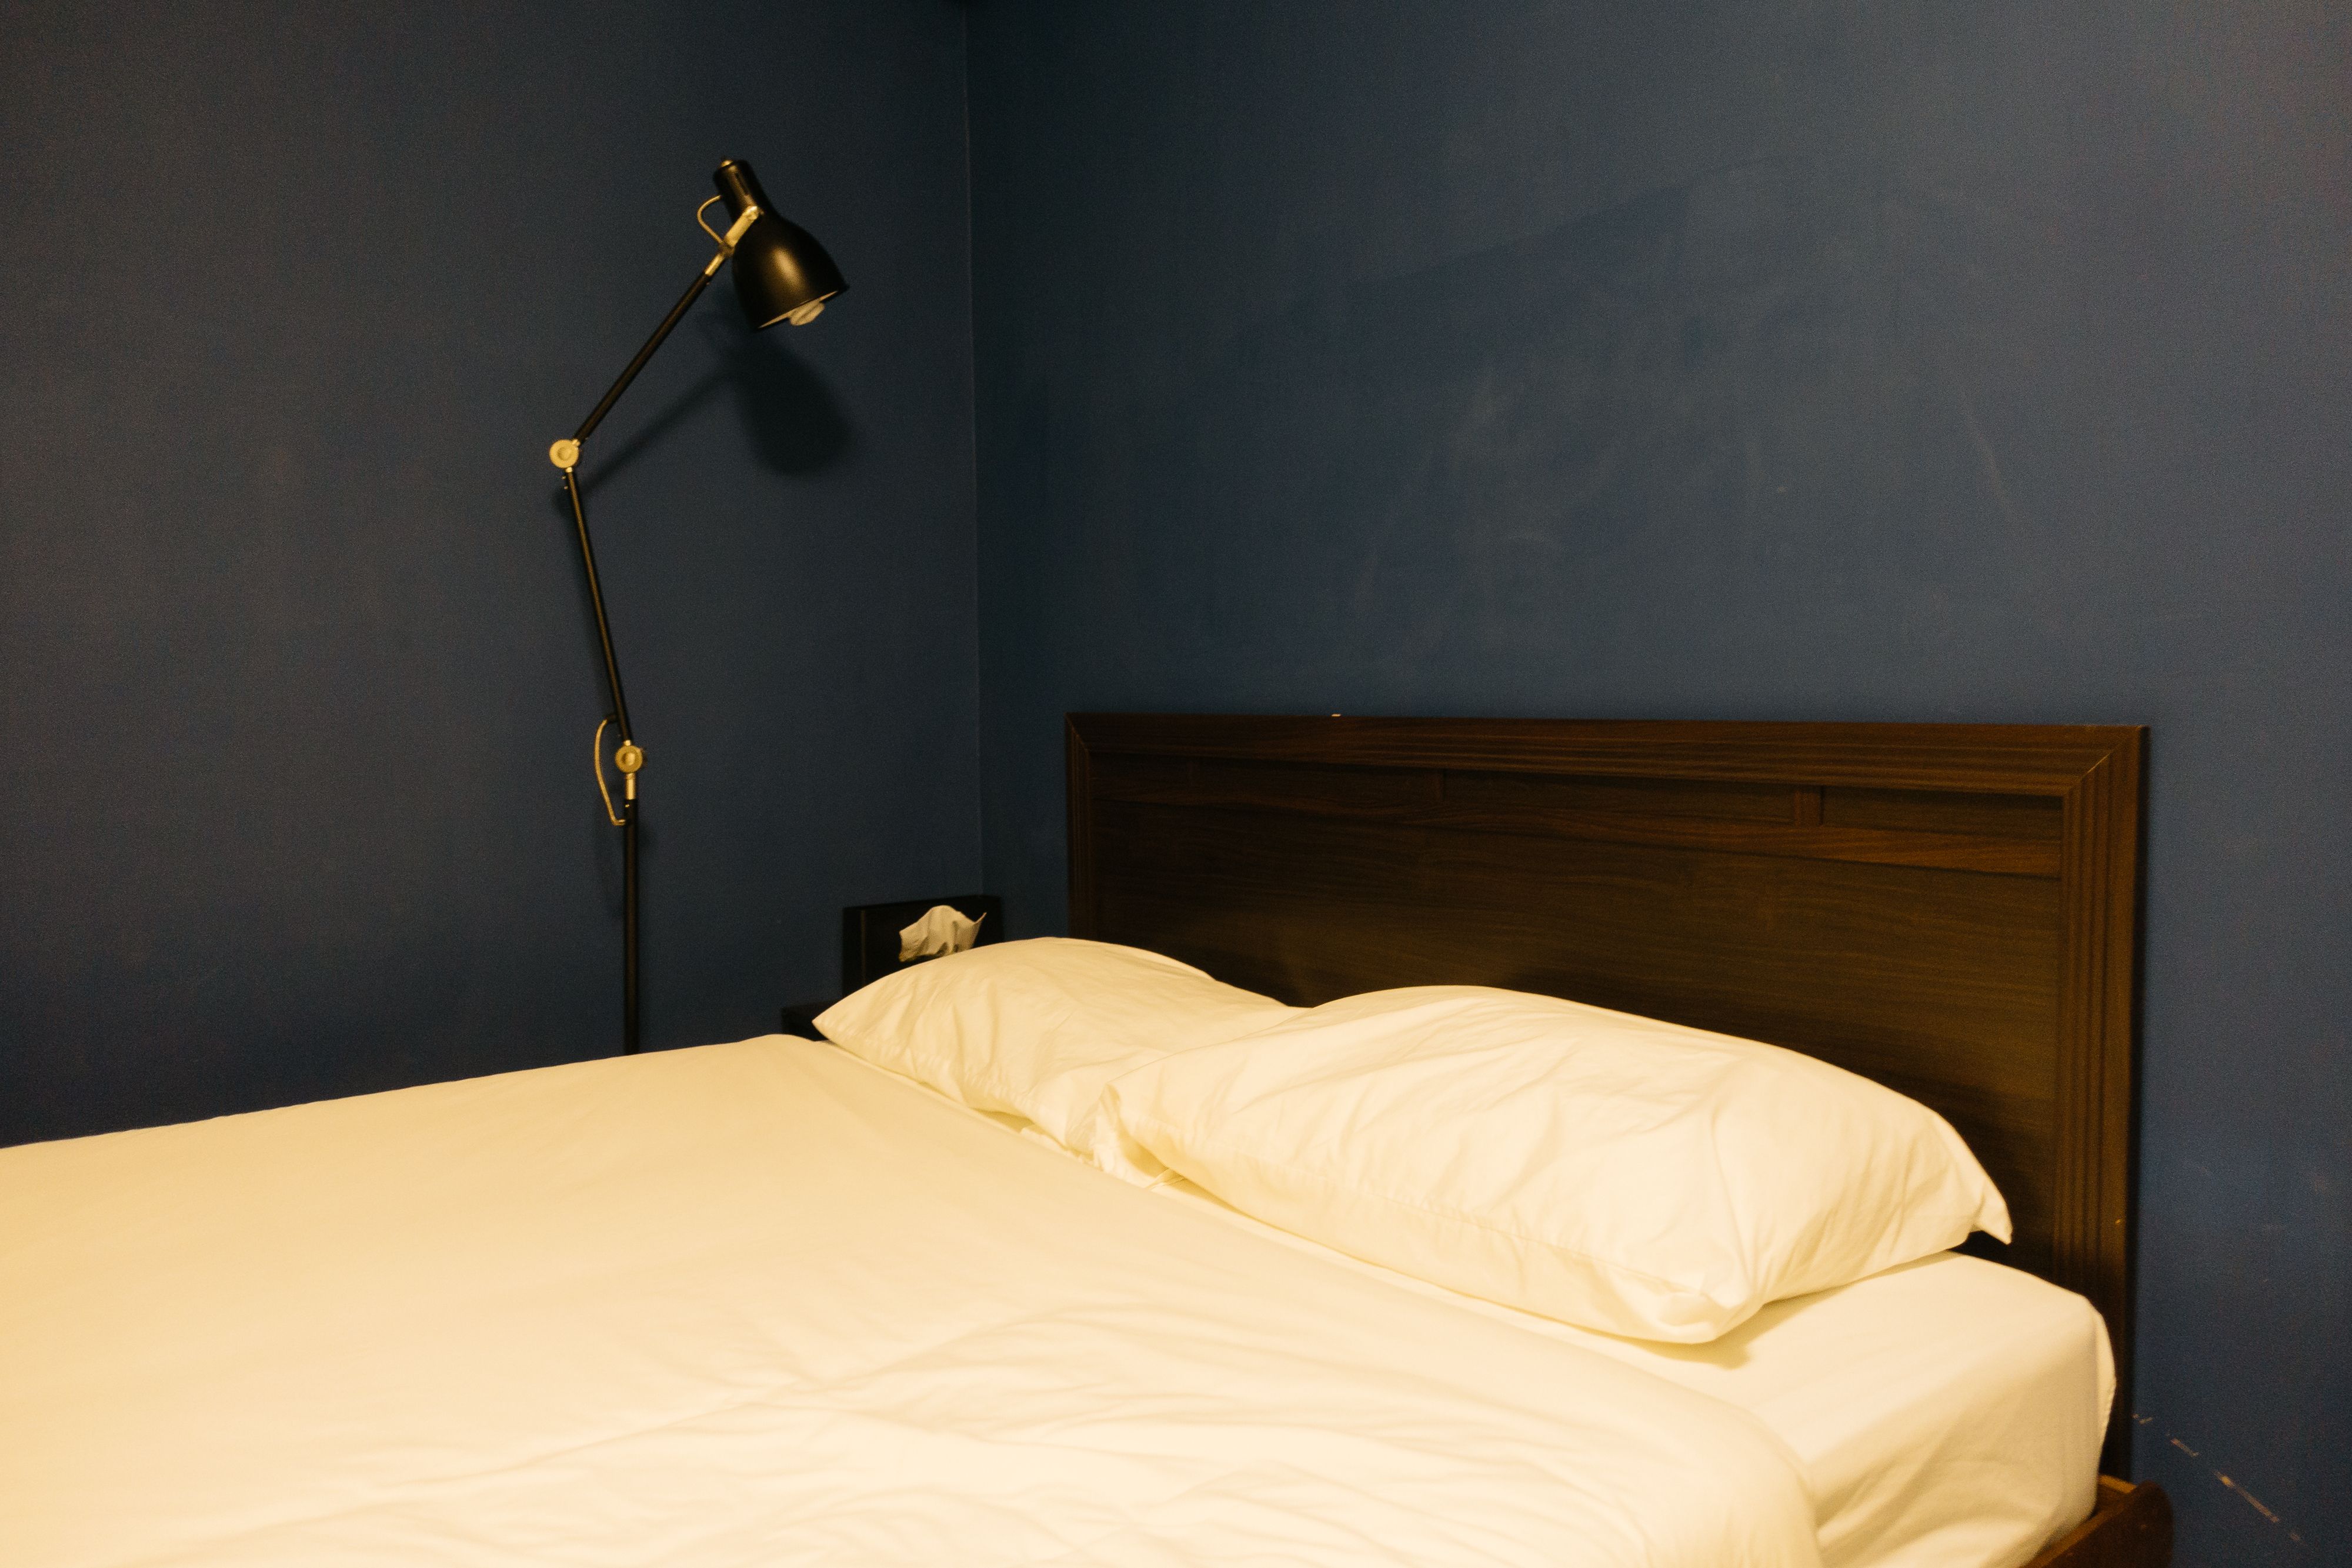
Before you shoot, remove everything that is not structural. Clear countertops completely. Make beds with fresh, neutral linens. Close cabinet doors and closets. Remove all personal photos, knickknacks, and decorative items that feel cluttered.
The goal is to make the space feel intentional and open. Clutter does the opposite.
Open Every Door and Remove Every Obstacle
In small spaces, open doors make the room feel larger. Closed doors chop the space into fragments.
Before shooting, open all doors to adjoining areas. This creates visual continuity and makes the home feel more connected and spacious.
Remove any furniture that blocks pathways or sight lines. If a chair is in the way, move it temporarily. If a lamp is creating a visual jam, take it out of the shot.
The lighter and more open the space feels, the more appealing it reads.
Bring in Supplemental Light
Small spaces are often darker than larger homes because windows are fewer or smaller. You need to compensate with artificial light.
Bring portable LED panels or reflectors. Position lights to eliminate dark corners and shadows. Light the back wall to create separation between the foreground and background. This creates depth and prevents the room from collapsing into a single flat plane.
Do not rely on the lights already in the home. Turn them on, yes. But supplement with external light to control contrast and prevent dim, shadowy images.
Straighten Every Line in Post
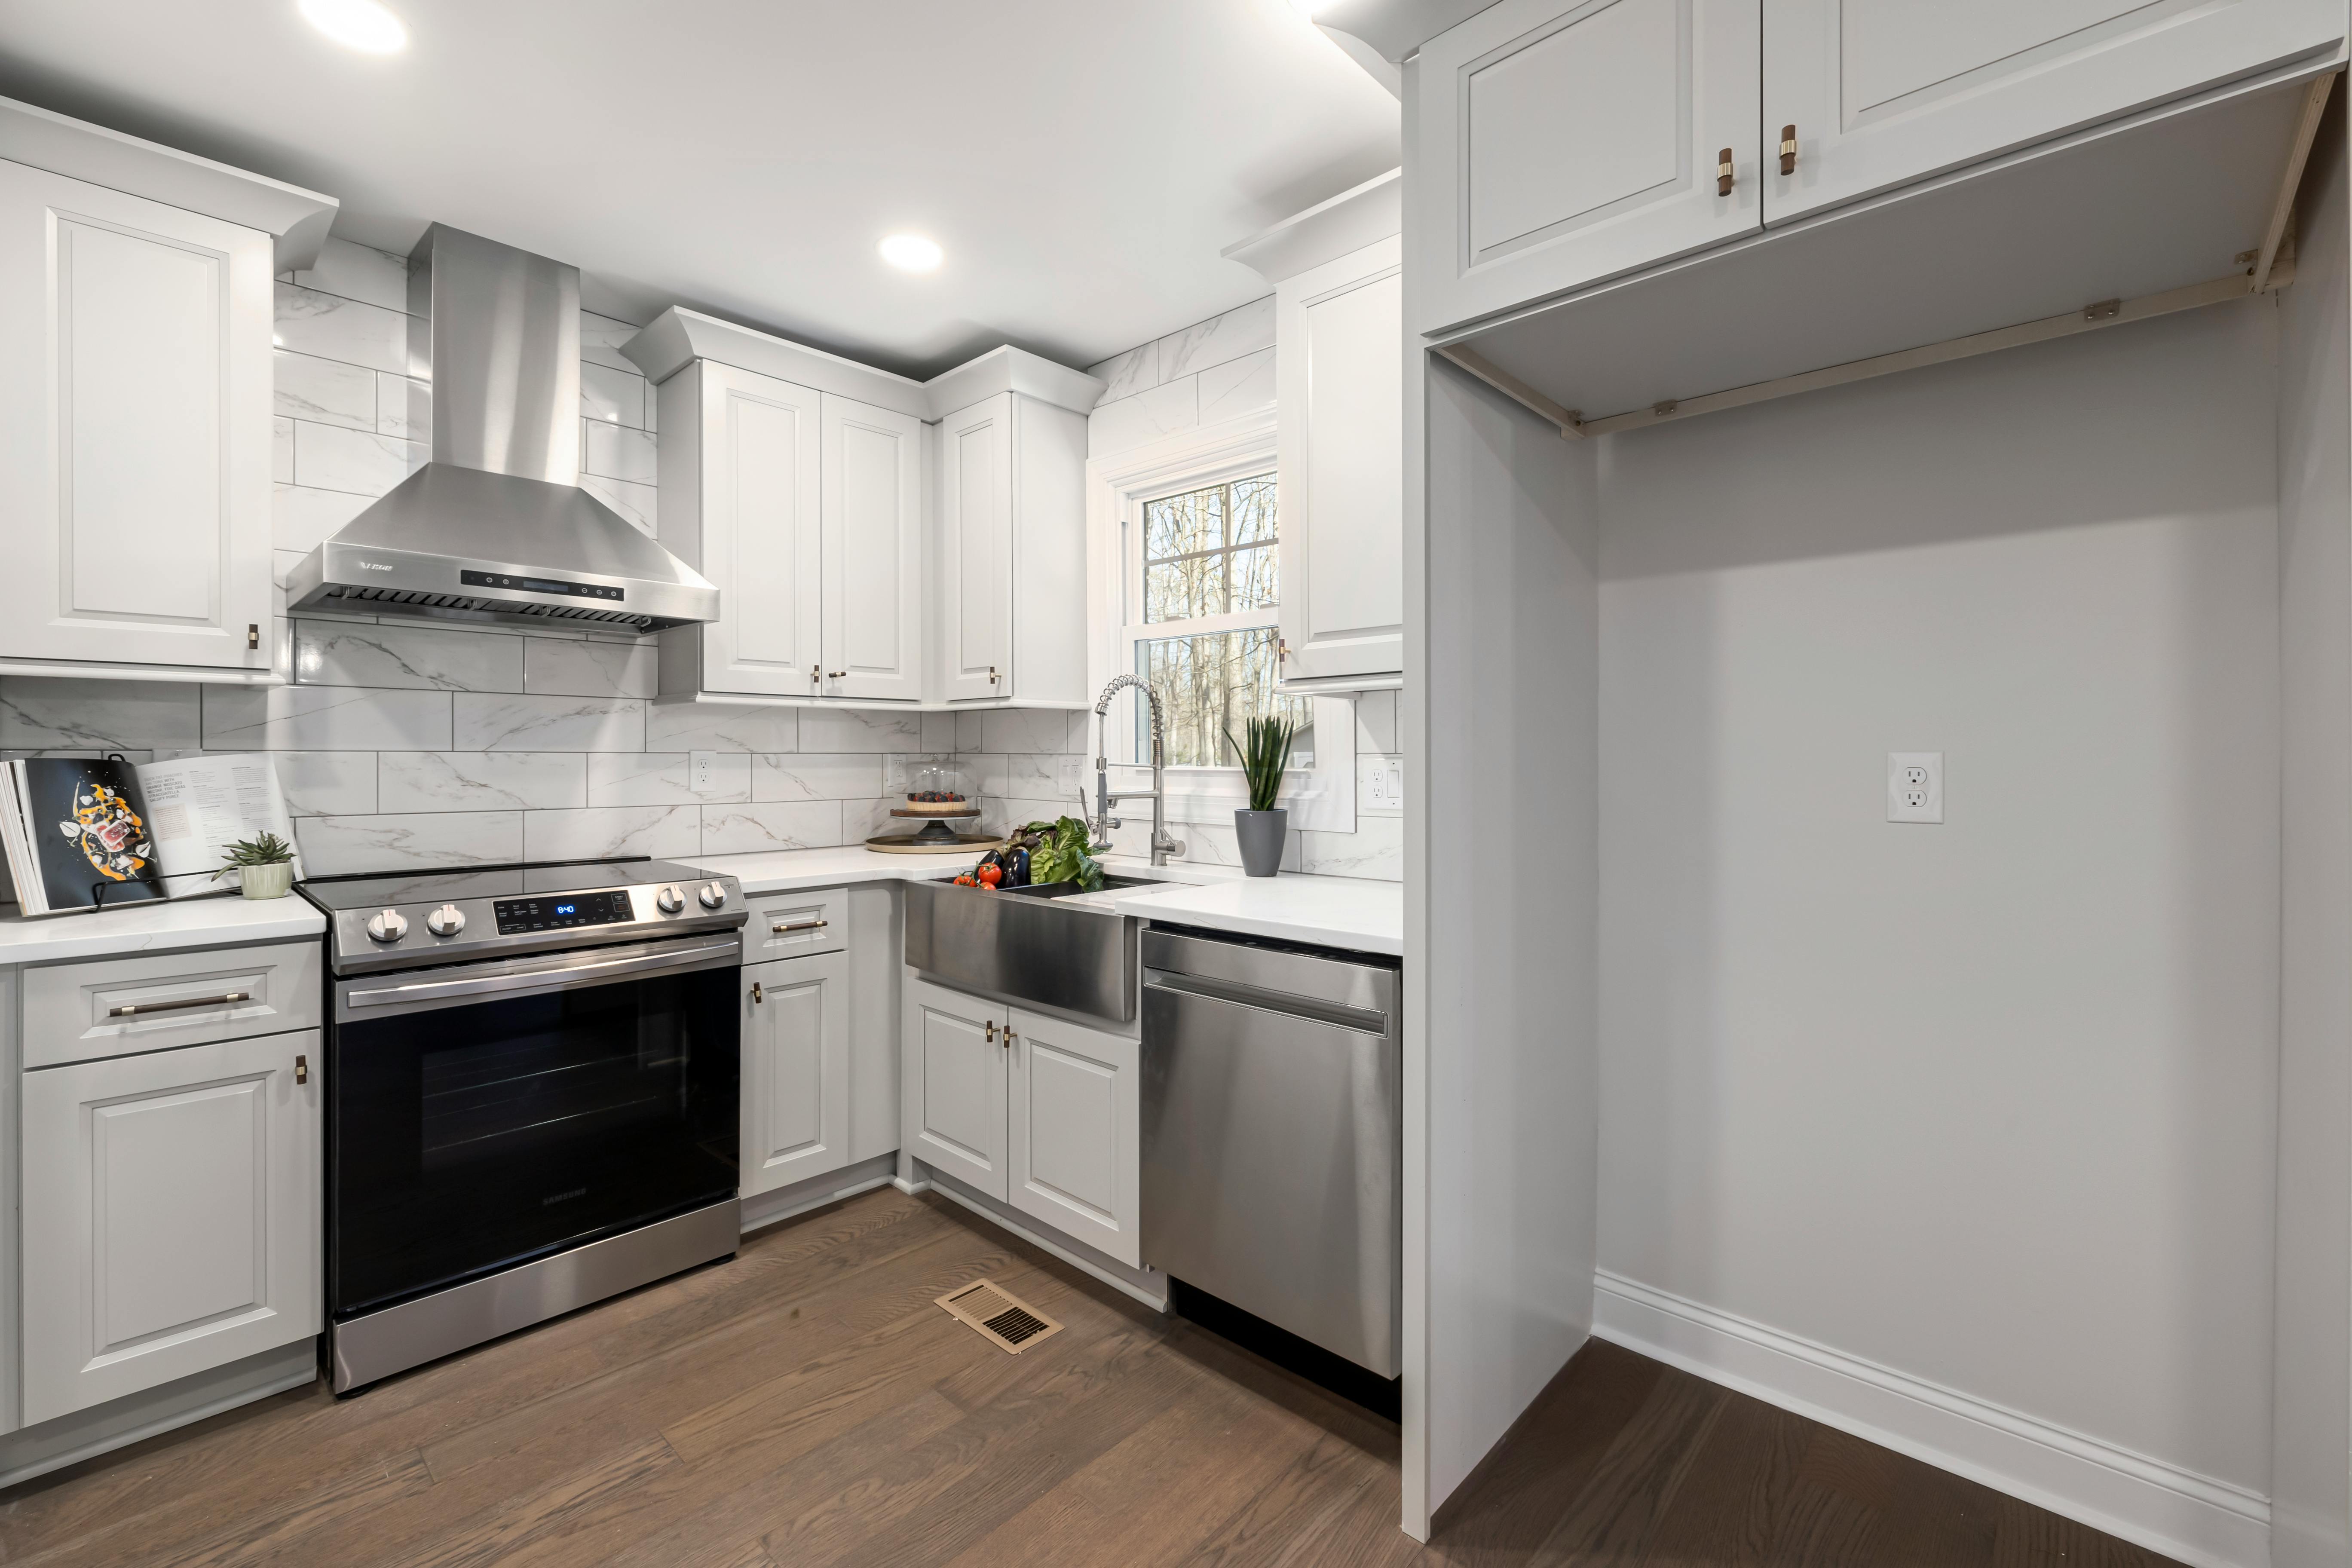
In small spaces, uneven horizon lines are magnified. A tilted wall looks obviously wrong. Invest time in post-processing to straighten verticals and correct perspective.
Use software like Lightroom or specialized perspective-correction tools to fix lines that are slightly off. It takes minutes but transforms the image from amateur to polished.
Use HDR to Balance Tight Spaces
High Dynamic Range (HDR) processing is especially useful in small interiors. Small rooms often have a window on one wall that creates harsh contrast. The window reads as blown out while the interior stays dark.
HDR processes multiple exposures to balance these extremes. The interior becomes visible while the window stays properly exposed. This is standard in professional real estate photography.
Avoid Extreme Angles and Awkward Crops
In small spaces, the temptation is to shoot from unusual angles to squeeze in as much as possible. Resist this. Shots from floor level or extreme downward angles feel gimmicky and read as amateur.
Stick to natural eye-level angles. Keep the camera level and straight. Frame the shot to show the room as a person would actually see it.
Why This Matters for Your Sale
Buyers often skip listings with poor small-space photography. A cramped, dark, cluttered photo tells them the apartment is not worth their time. A well-photographed small space does the opposite. It invites them in.
Professional small-space photography is one of the highest-return investments you can make in a modest home or apartment listing. It makes the difference between a property that sits on the market and one that sells.
At Big Sky Realty Media, we specialize in exactly this kind of work. We photograph properties across Western Nebraska, Eastern Wyoming, Southern Indiana, and Kentucky. We know how to make small spaces sell. Our 24-hour turnaround means your listing can be live with professional photos before your competition even schedules a shoot.
If you are selling a small home or apartment, professional photography is not optional. It is the single most important factor in attracting qualified buyers and closing faster.
Share this article