
Photography Tips
How to Prepare Your Home for Professional Real Estate Photography
Professional photos start before the camera arrives. Learn how to stage, clean, and prepare your listing to look its absolute best in photos and sell faster.
The 24 Hours Before Your Shoot
Professional real estate photography isn't just about the photographer's skill—it's about how the home presents. A polished home with good lighting, clear sightlines, and thoughtful staging photograph 10 times better than the same space cluttered and dim.
If you've booked a real estate photographer, the preparation phase is critical. Every hour you spend staging and cleaning before the shoot directly impacts how buyers respond to your listing online. Here's what to focus on.
Declutter Ruthlessly
The first step is removing everything that's not essential to showing the space. This means:
- Kitchen counters: Clear everything except a cutting board, fresh bowl of fruit, or a decorative plant. Empty counters photograph wider and more valuable.
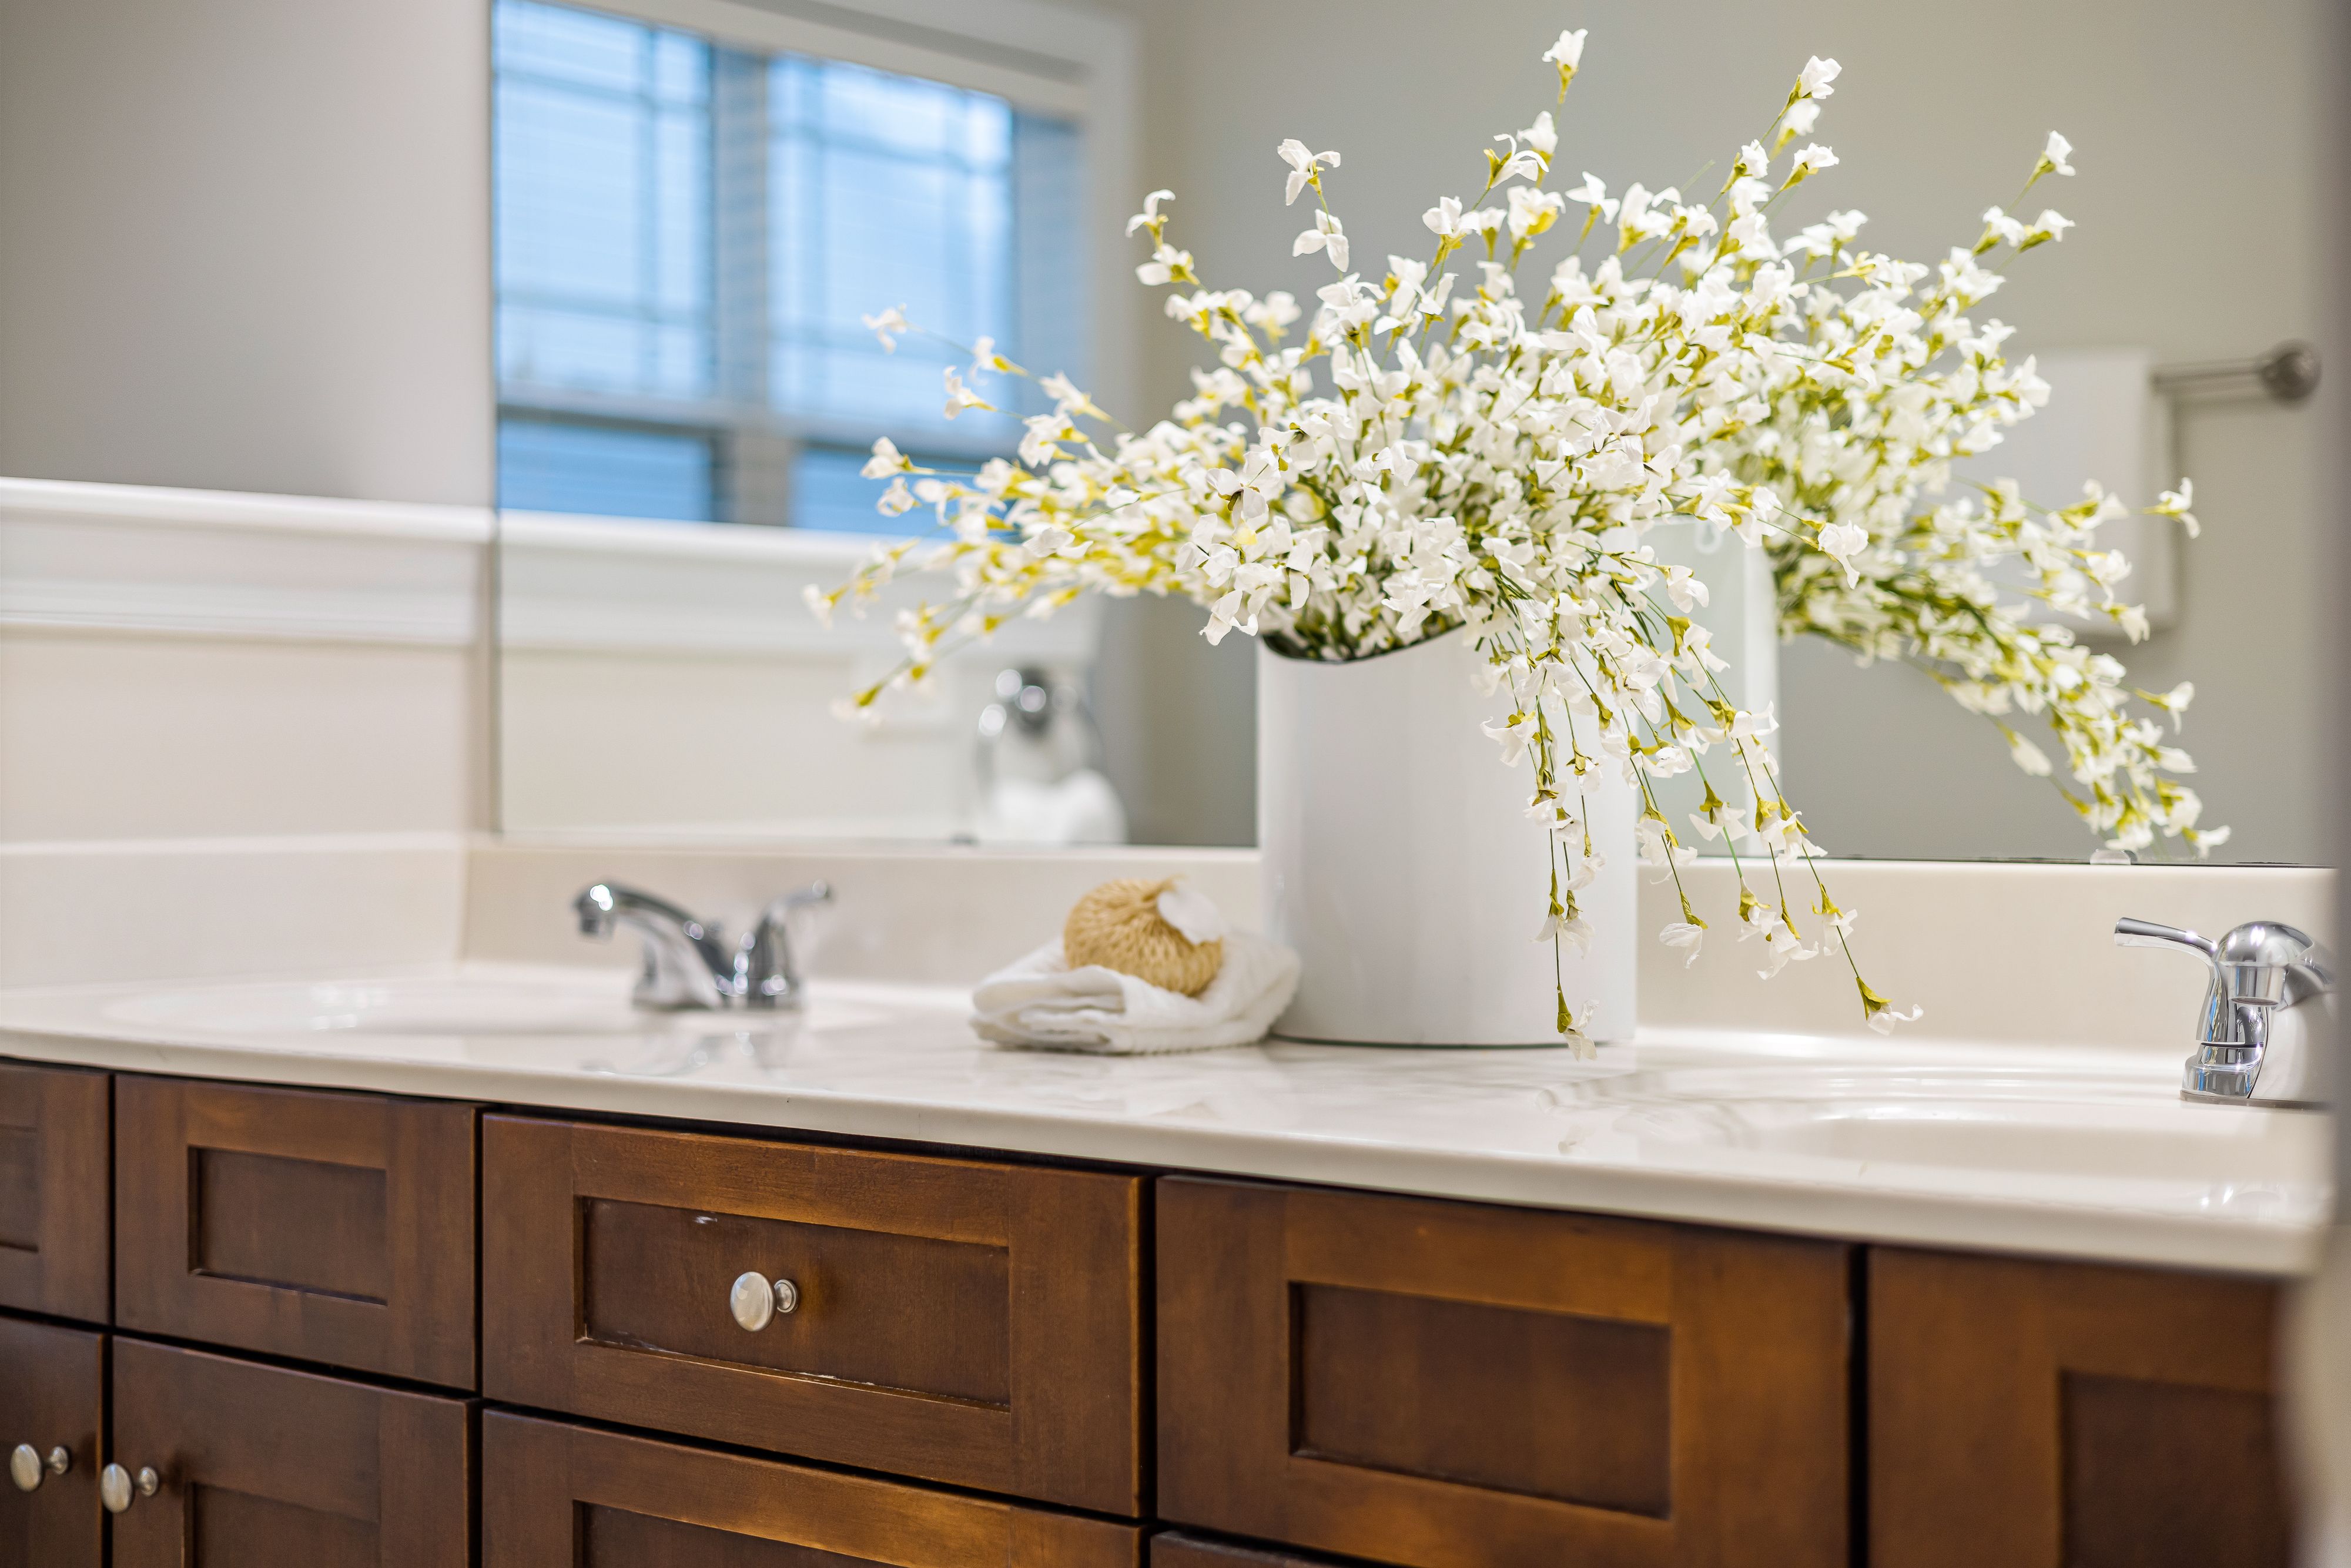
- Bathroom counters: Remove all daily-use items—toothbrushes, soap dispensers, medications. Leave only a luxury candle or rolled towels.
- Shelves & bookcases: If shelves are overstuffed, thin them out. Aim for 60% full so buyers can visualize their own belongings. Remove personal photos and quirky knickknacks.
- Closets: If you're shooting open closets or the photographer will capture them, hang everything on matching hangers facing the same direction. Remove off-season items.
- Garage: Park both cars outside (or at least one). Sweep the floor. Stack tools neatly or store them out of sight.
- Entryways & hallways: Remove coats, shoes, mail, and clutter from sight. A clean entry sets the tone for the entire listing.
Deep Clean Everything
Cleanliness shows in photos. A 48-hour professional clean is worth it.
- Windows & glass: Smudges, fingerprints, and water spots are visible in photos. Clean all exterior windows, glass doors, and interior windows from sill to frame. This dramatically improves light in photos.
- Floors: Vacuum and mop everywhere. If you have hardwood, have it professionally cleaned or lightly buffed—it photographs beautifully and suggests value.
- Baseboards & trim: Dust and wipe all baseboards, door frames, and trim. These details are visible in wide-angle shots.
- Light fixtures & ceiling fans: Dust overhead fixtures, ceiling fans, and lampshades. They're visible from below and from the photographer's perspective.
- Mirrors & reflective surfaces: Clean mirrors completely—photographers often use them to open up spaces, and smudges will be obvious.
Optimize Lighting
Good light is non-negotiable in real estate photography. Prepare your home's lighting for the shoot:
- Open all curtains and blinds. Natural light is a listing's best asset. Even if it's overcast, the brightness matters. If privacy is a concern, ask your photographer to shoot during times that work for you.
- Replace burned-out bulbs: Go through every light fixture and swap any dark bulbs. Use warm-white (2700K) bulbs, not cool white or daylight bulbs.
- Turn on all interior lights during the shoot (photographer will do this, but mention any fixtures that don't work).
- Consider layer lighting: If a room feels dark even with natural light and fixtures on, add a table lamp or floor lamp in the corner to fill shadows.
Stage the Key Rooms
You don't need professional staging, but strategic arrangement and styling make a difference.
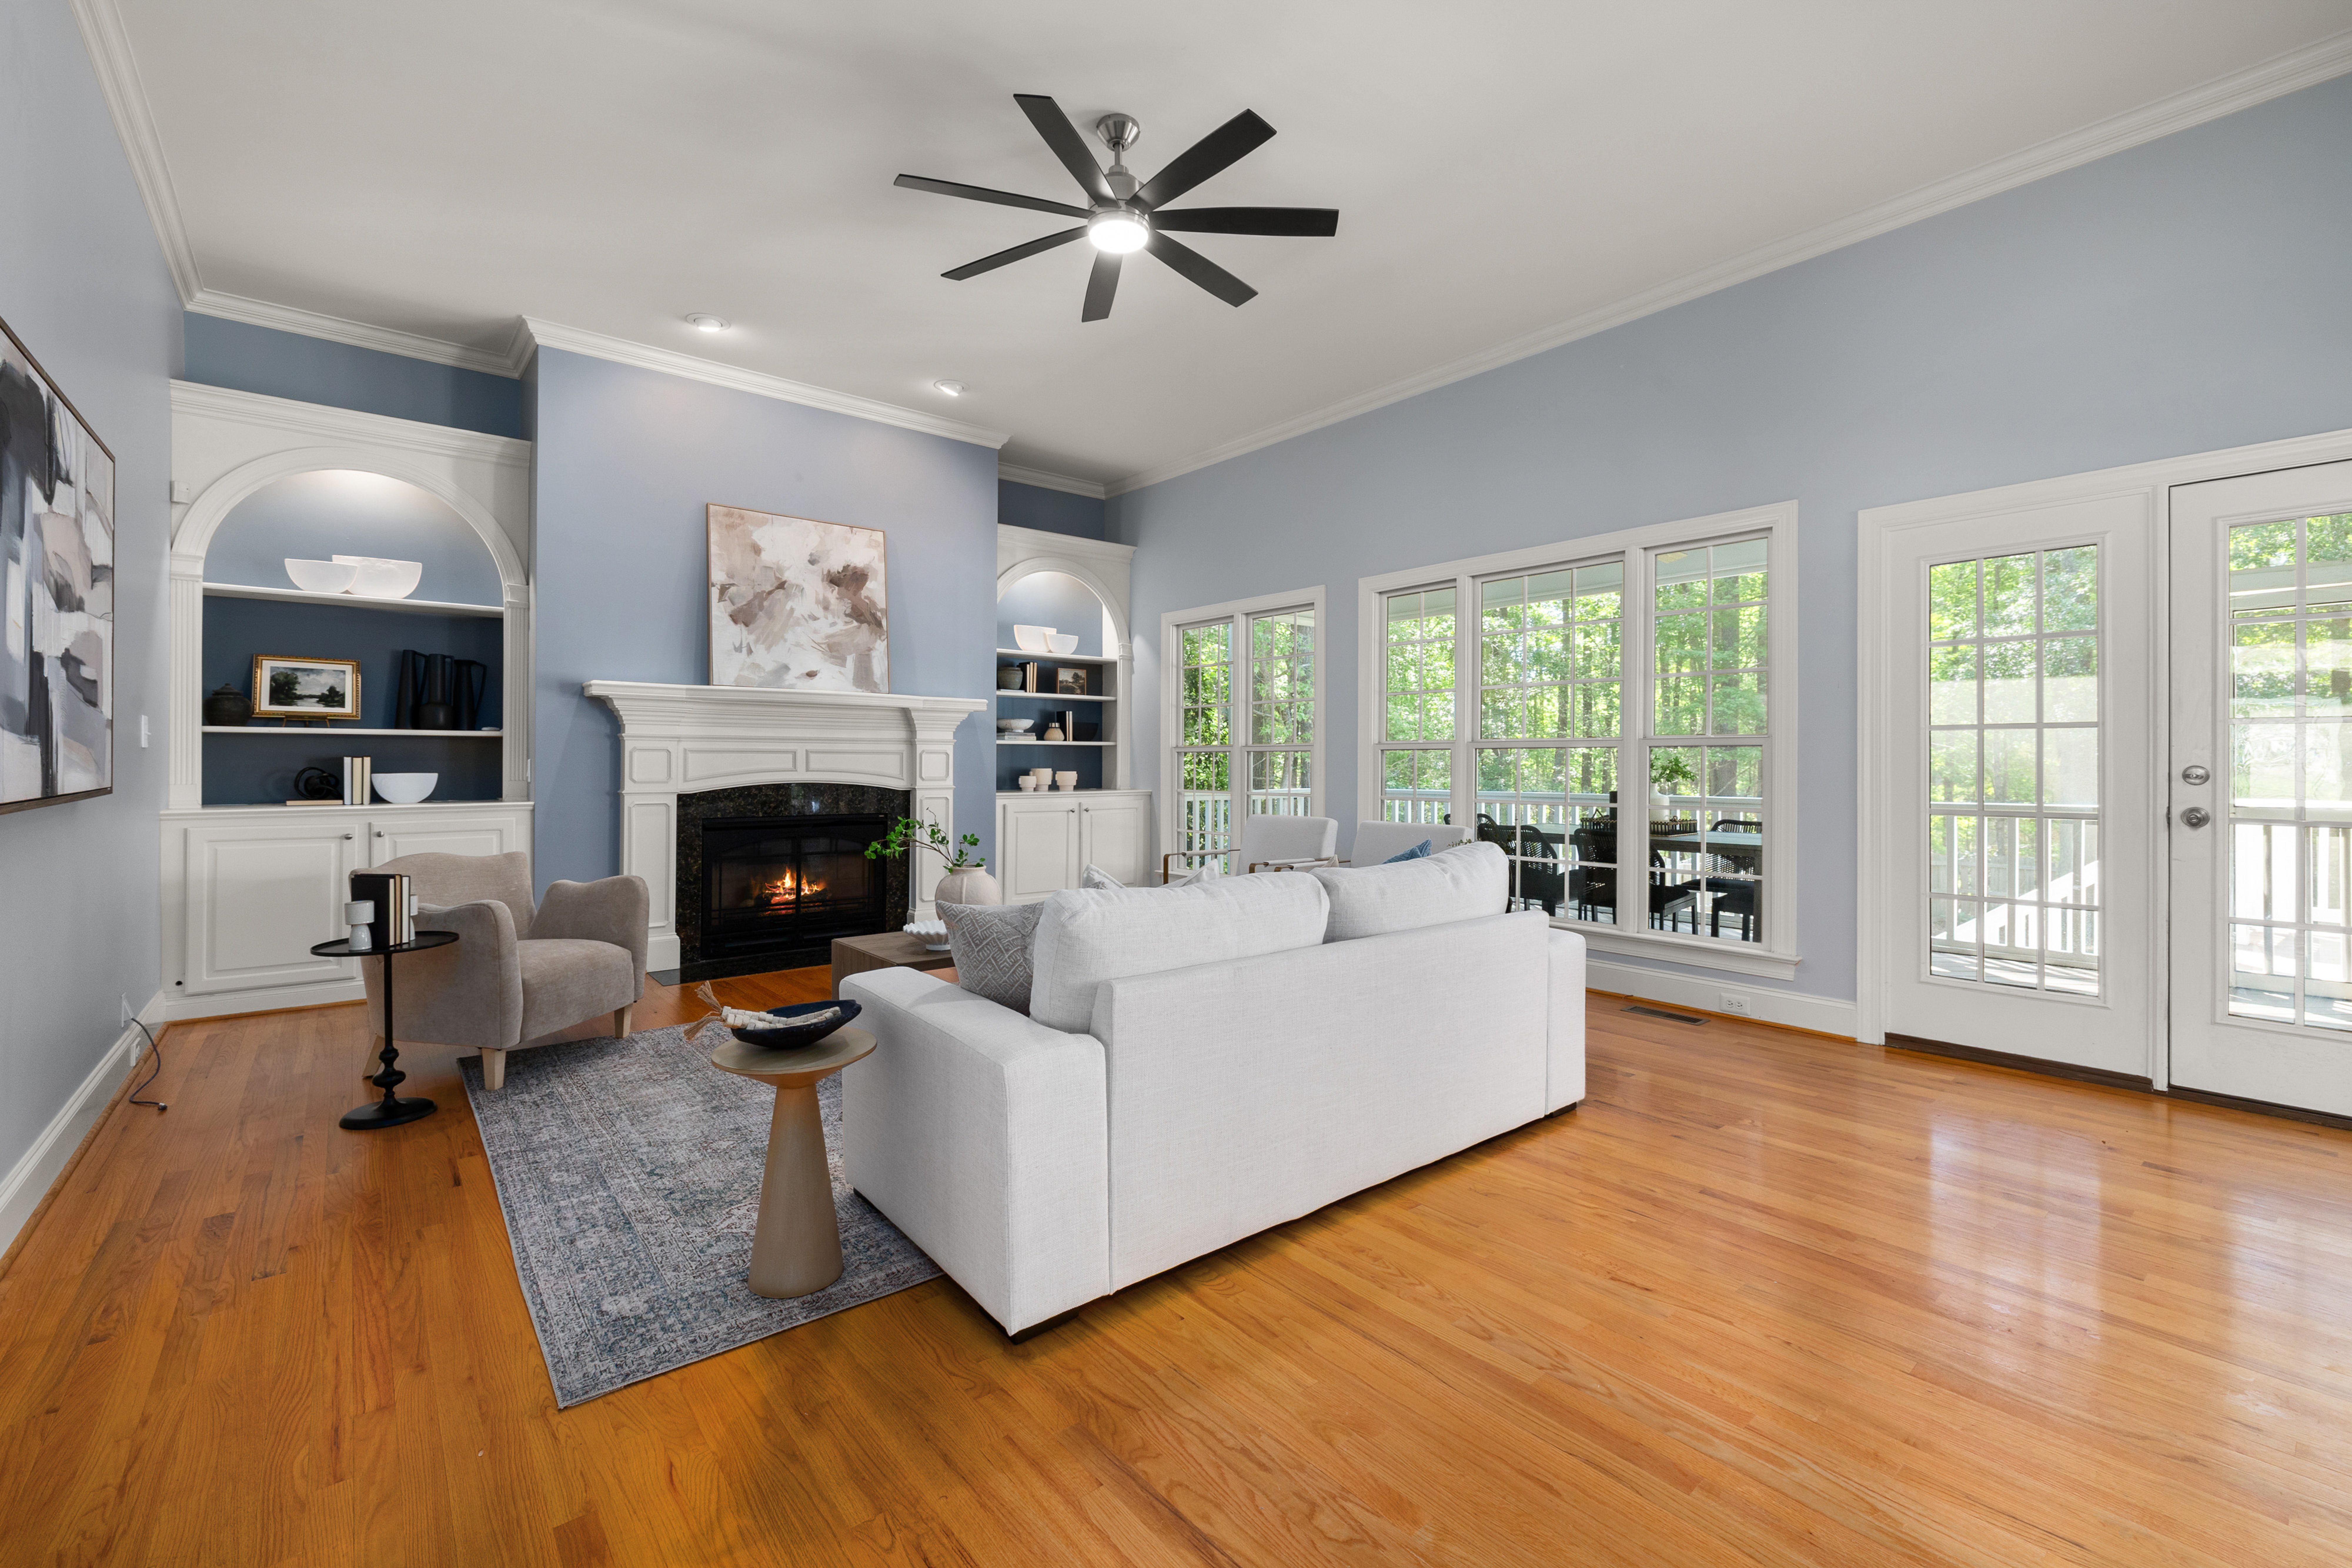
Living rooms & family rooms:
- Arrange furniture to show the room's flow and potential seating areas
- Add 2-3 accent pillows in neutral or warm tones (coordinated with the room)
- Remove TV remotes, game controllers, and clutter from tables
- Add a coffee table book or two
Bedrooms:
- Make beds with clean, pressed linens (neutral colors work best)
- Remove personal items from nightstands
- Keep closets organized and partially visible (if doors are open)
- Add 1-2 decorative pillows
Kitchens:
- Style the island or a counter corner with a few items: a cutting board, a wooden spoon holder, fresh fruit in a bowl
- Polish all stainless steel appliances (fingerprints show immediately)
- Remove magnets and clutter from the refrigerator
- Showcase pendant lights or light fixtures over the island
Bathrooms:
- Stock fresh towels in coordinating colors
- Place a simple candle or fresh flowers (optional)
- Polish fixtures so they shine
- Ensure the toilet seat is down, shower is clean
Check Your Curb Appeal the Day Before
Buyers form their first impression before they even walk inside. Give the exterior attention:
- Front door: Clean it completely. Fresh paint or stain is worth it if it's dated. The door should be the focal point.
- Porch: Sweep debris, dirt, and leaves. Clean the porch furniture or remove it temporarily.
- Landscaping: Trim any branches hanging over the roof line. Edge the beds. Plant perennials or annuals in one or two key spots (front bed, near the entrance).
- Driveway: Power wash or sweep it clean. Pressure wash if there's algae or staining.
- Garage door: Clean and check that it operates smoothly. Ensure it's closed during exterior shots (unless it's architecturally stunning inside).
Don't Over-Stage—Keep It Real
The goal is to show the home's potential, not to make it look like a model home. Buyers want to imagine their own life here, not feel like they're stepping into a showroom.
- Keep personal style visible (not hidden)
- Use furniture and decor already in the home when possible
- Avoid artificial flowers or excessive holiday decor
- Don't add furniture that doesn't belong (it looks odd in photos and takes up valuable space)
The Morning of the Shoot
- Final walkthrough: Scan each room for anything you missed. Do one last dust and quick tidy.
- Temperature: Set the thermostat to a comfortable level (photographers can get warm with lights on).
- Pets & people: Arrange for pets to be elsewhere or kept in one contained area. Keep family members and their personal items out of the frame.
- Parking: Ensure there's clear curb space near the property for the photographer's vehicle (and any equipment).
Why This Matters
Professional photos are your listing's first impression online. With 88% of home buyers starting their search online, the quality of your photos directly impacts whether someone will schedule a showing. A prepared home photographs authentically, shows better lighting, and conveys value—all of which translate to more buyer interest and faster sales.
The time you invest staging before the photographer arrives is the difference between photos that drive showings and photos that get passed over. Big Sky Realty Media's team knows exactly what photographs well and what doesn't. When you prepare your home using these principles, you're setting both the photographer and yourself up for success.
Ready to showcase your listing? Book your shoot today.
Share this article